The average person receives hundreds of emails each day. Therefore, when you’re a busy professional or constantly on the go, you must organize your inbox effectively to keep track of everything.
That’s where creating labels in your Gmail inbox comes into play. You can set up labels for different types of emails, such as marking them as “personal” or “work” messages. Plus, you could even label them in terms of priority or use color coding to help visually differentiate messages.
However, manually setting up labels can be time-consuming rather than saving you time. That’s why Gmail also allows you to automatically label emails for different categories. In the rest of this article, we’ll discuss how to automatically label emails in Gmail, advanced techniques for better organization, and other ways to optimize email productivity.
Why Use Gmail Labels?
First, you might still be wondering why you should use Gmail labels over other organizational options on Gmail, such as folders. Here is what labels typically do better than folders:
More Flexibility
One of the main benefits of using labels on Gmail is adding multiple labels to each message. For instance, you could label all your work emails as “work.” Then, you could add others to differentiate between work emails, such as labeling some “co-workers” and others “clients.”
This gives you extra flexibility to easily sort and find the types of messages you’re looking for in different scenarios.
Search by Label
Labels make it easy to find what you’re looking for since you can directly search for them. You can use the search bar at the top of your Gmail dashboard to look up a specific label. Otherwise, labels will also appear in the left-hand toolbar, so you can select whichever one you want.
Color-Coding
You can also color-code labels to help you easily distinguish between different types of emails in your inbox. Many professionals like adding different colors for priority levels, so you have a better way of knowing which messages you should tackle and respond to first.
Customizable
You can customize labels for your way of working and thinking. Many people find this helps them establish a better routine and create a better mindset around email productivity.

Improve your email productivity
Say goodbye to manual labeling and data entry
Step-by-Step Guide to Creating Labels in Gmail
Now that you understand why creating labels in Gmail is a great option, here’s a step-by-step guide on how to do it:
1. Open Gmail Settings
On your Gmail dashboard, click the gear icon at the top-right corner to open the settings menu. Then select “See all settings” to access the full settings menu.
2. Navigate to the Labels Tab
In the settings menu, click on the “Labels” tab. This tab will show a list of all your current labels, including system labels like “Inbox” and “Sent,” as well as custom labels you’ve created.
3. Create a New Label
Scroll to the bottom of the Labels section and click the “Create new label” button.
A pop-up window will appear, prompting you to enter a name for your new label. Choose a descriptive name that reflects the category of emails you want to organize, such as “Work” or “Family.”
4. Save the New Label
Click “Create” to finalize the label. Your new label will now appear in the left sidebar of your Gmail interface.
5. Manage and Edit Labels
To edit or delete a label, hover over the label name in the sidebar, click on the three dots that appear, and select “Edit” or “Remove label.” You can also assign colors to labels for easier identification by choosing the “Label color” option from the same menu.
6. Optional: Nest Labels Under a Parent Label
After creating your first label, you can also add sub-labels under it. To do so, click the “Create new label” button again. Then, this time, check the “Nest label under” box and choose the parent label from the dropdown menu. This is useful for creating a hierarchy of labels, such as “Projects” with sub-labels like “Project A” and “Project B.”
This is how it would look at the end:
Creating Filters to Automatically Label Emails
Now that you have some labels set up, you can start automatically labeling emails that land in your inbox. Here’s how to do it:
1. Access Gmail Settings
First, sign in to your Gmail account on a desktop. Click on the gear icon in the top-right corner of the Gmail interface and select “See all settings” to access the full settings menu.
2. Navigate to Filters and Blocked Addresses
Once you’re in the settings menu, go to the “Filters and Blocked Addresses” tab. This is where you can manage all your existing filters and create new ones. Click “Create a new filter” to set up your custom filter.
3. Define Filter Criteria
A dialog box will pop up, allowing you to enter the criteria for your filter. You can filter emails based on several parameters, including:
- From: Filter emails from specific senders (e.g., all emails from a particular domain like @company.com).
- To: Filter emails sent to a specific recipient, which is useful for managing multiple email addresses.
- Subject: Filter emails based on specific words in the subject line, like “invoice” or “meeting.”
- Has the words: This option allows you to filter emails containing specific keywords in the body.
- Doesn’t have: Exclude emails that contain certain words. You can also use more advanced options like specifying emails with attachments or setting size limits.
4. Choose an Action for the Filter
After defining your criteria, click “Create filter.” A new window will appear, showing options for what to do with emails that match your filter. To automatically label these emails, check the “Apply the label” box and choose an existing label from the dropdown menu or create a new one. You can skip the inbox, mark it as read, star the email, or delete it.
5. Apply the Filter to Existing Emails (Optional)
If you want to apply this filter to emails already in your inbox, check the box labeled “Also apply filter to matching conversations.” This will automatically label past emails that match your criteria.
Step 6: Save and Manage Filters
Click “Create filter” to save your new filter.
You can always edit or delete existing filters by returning to the “Filters and Blocked Addresses” tab in the settings menu.
Using Labels in the Gmail Mobile App
If you’re often on the go when managing your emails, you might also wonder how to use and manage labels in the Gmail mobile app. Here are the basics of how it works:
Adding a Label to Emails
To label an email in the Gmail mobile app:
- Open the app and select the email you want to label.
- Tap the three vertical dots in the top right corner and choose “Label.”
- You can then select an existing label from the list or assign multiple labels to a single email.
This method works on both Android and iOS devices.
Labeling Multiple Emails
To label multiple emails at once.
- Tap and hold the first email, then select additional emails by tapping them.
- Once you’ve selected all the emails you want to label, tap the label icon or the three-dot menu and choose “Label.” This will apply the chosen label to all selected emails.
Limitations
Unlike the desktop version, the Gmail mobile app does not allow you to create new labels or set up automatic filters. To perform these tasks, you need to use the web version of Gmail. However, you can still add or remove labels and organize your emails on the go.
Best Practices for Using Gmail Labels
Now that you have the basics down to automatically add labels in Gmail let’s review some best practices to ensure you get the most out of this feature:
Keep It Simple
Start with broad categories like “Work,” “Personal,” and “Bills” to avoid label overload. Only create sub-labels if there is a genuine need for further organization. Overcomplicating with too many labels can make it hard to find what you need and increase clutter.
Use Color Coding Wisely
Assign colors to high-priority labels for quick identification. For example, use red for urgent emails and green for non-urgent ones. However, avoid using too many colors, as this can become visually overwhelming.
Review and Clean Up Regularly
Set aside time, perhaps monthly or quarterly, to review and clean up your labels. Delete or merge labels you no longer use to keep your system streamlined and relevant.
Boost Your Email Productivity Further Using Mailsuite
Now that you know all the essentials about how to automatically label emails in Gmail, there are still other tools you can use to enhance productivity further. Our tool Mailsuite has several productivity features that can help, including:
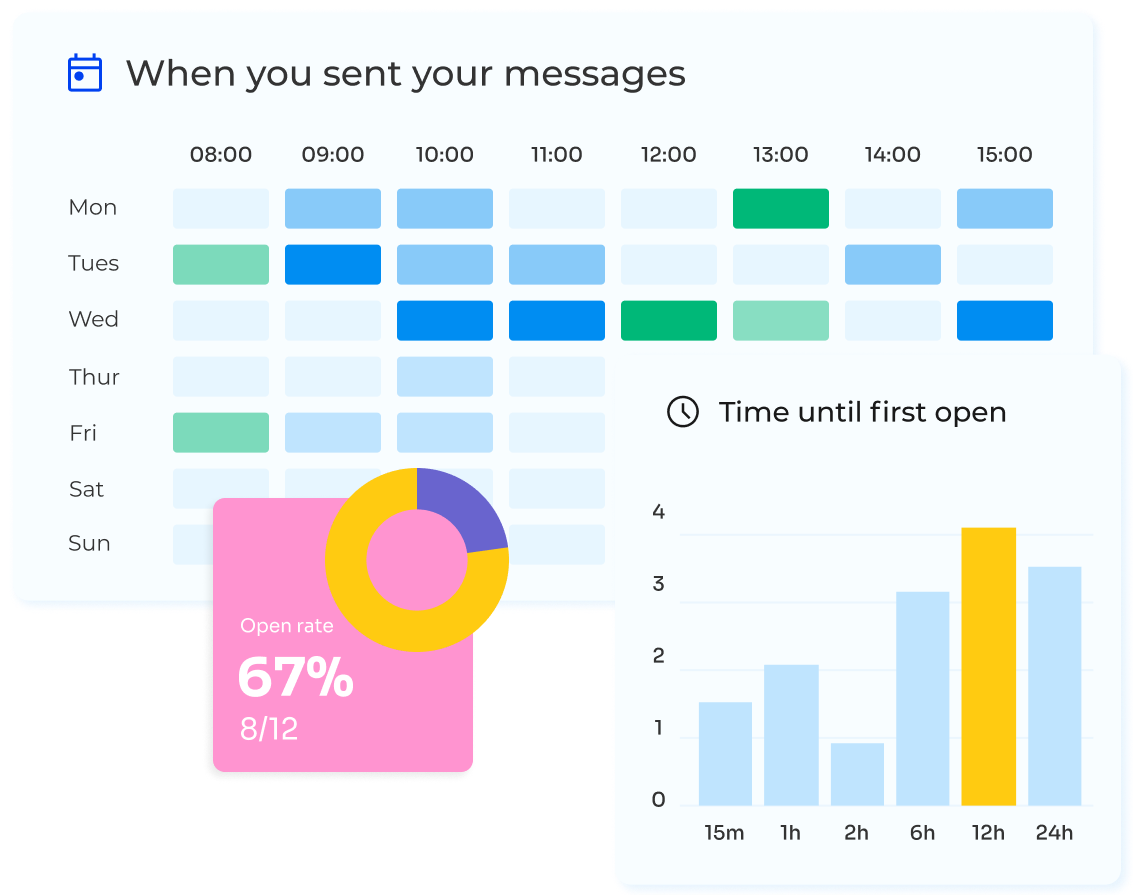
- Email productivity metrics, such as how many emails you’ve sent and emails sent per day
- An activity dashboard
- The ability to schedule email campaigns
- Notifications when you should follow up on a message that didn’t get a response
- Secure document tracking
- Document analytics
- And more
You can get started with Mailsuite today to take advantage of all these features.
